Webflow basics + designer layout

Summary
In this episode, we'll learn the basics of Webflow, how to set up an account. Also how to create a new project and how to utilize breakpoints. We will learn the toolbar tabs and the style window.
Watch here
Listen Here
Weekly tips
[fs-toc-h3]Start learning on a blank canvas
Progress to a cloneable style guide for projects
For smaller devices utilize responsive breakpoints
Make global changes from the primary breakpoint
Use the left toolbar to add elements
Use the right toolbar to style elements
Transcript
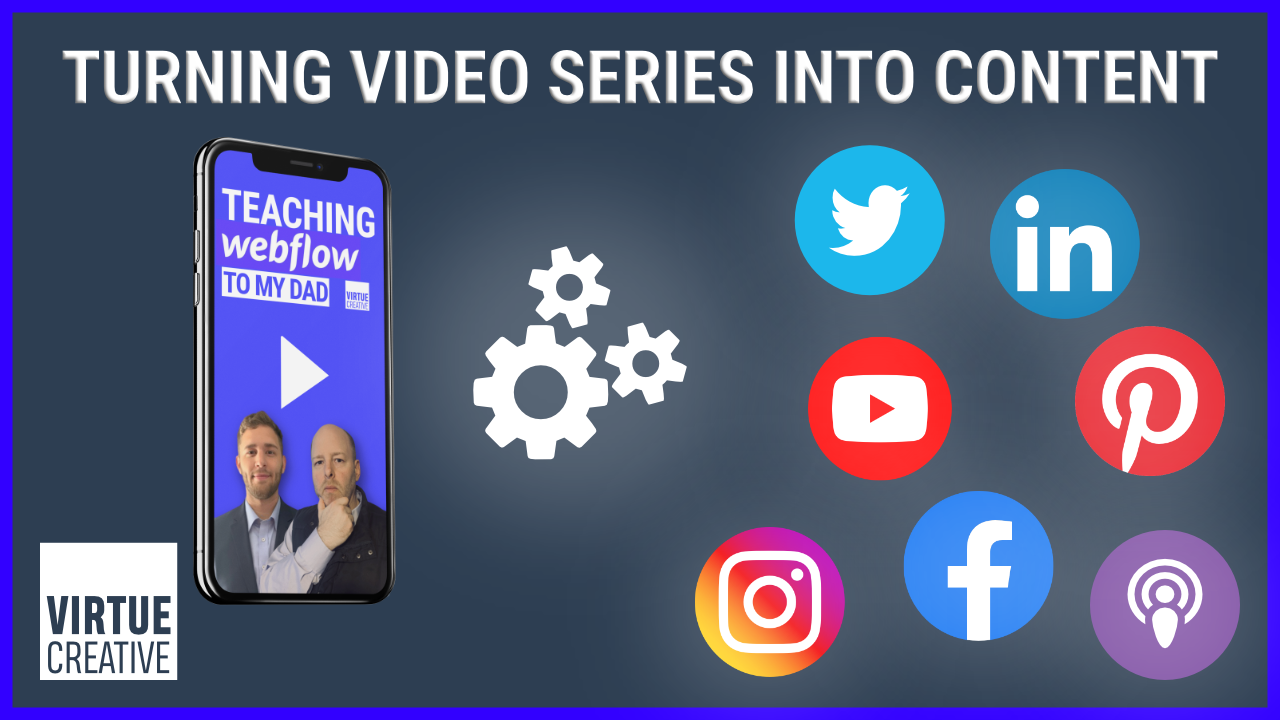
Joseph: This is our first video series inspired by Gary V's document. Don't create content. So we are going to be filming a video series called a teaching web flow to my dad.
Joel: I'm the dad.
Joseph: And I'll be teaching you web flow, hopefully. All right, so let's go back.
Joel: Old dog new tricks
Joseph: And we'll see fingers crossed.
All right.
So how long have you been originally doing WordPress, is that correct? Or I guess both of us are building WordPress websites. And about a year ago I made the switch to web flow. And so we were brainstorming on a content series and this is what we came up with. Yeah, we're going to do our best condense all of our, my one year of knowledge into a, I hope it's not 20, 40, 50 hours of video series, but it could be, could
turn into that.
It was web flow. It's pretty impressive. I've been impressed with the websites that you've been building. They look
awesome. There's a lot to do, a lot of ground to cover. So probably just a quick outline and we'll use those little disclaimers. We're definitely not building the Course as a teaching for the viewer, it is definitely learning at your pace.
So it might get a little boring here. We might have to pause chops and stuff up. We'll see what happens. Is there anything else? Yes. I will be frustrated with me. Everybody watching will be paying. All right. So our goal by the end of this is to build a website at one page two page web flow website for you of your choosing. And then we're brainstorming a little bit. Yup. That'd be fun. And so we have to brainstorm some ideas.
I know we talked about maybe doing your Nessie and Ft, like just a
Joel: big fan of the Lochness monster. That's something. My dad and I had fun growing up. So talk about some dad to son.
Joseph: Not, no,
Joel: I wish we did. That'd be kinda cool.
Joseph: All right. Should we begin? Is there anything else you want to cover?
Take a deep breath, get a notepad.
Joel: I am ready. Got pen and paper here. I'm ready to learn. Be inspired.
Joseph: Okay. So I think we'll roughly do, is I have the steering wheel at the moment. So I think the first, I don't know, third half of our course, I'll just be showing you stuff. We'll open up a browser here.
Let's see. Alright, so we'll start off. There we go. So we're going to start off with me giving some guidance inside web flow, and then at some point we'll hand the reins off to you and it'll be your screen, you doing stuff, and I'll just sit back and watch and we'll see how it goes. Be like a ride.
Okay. All right. So we're going to start out in web. So let us, we have an account. So we're just going to log in. So this is the web flow dashboard. When you want to start a site there's three ways to do it. So you can either create a site from scratch, which is what we'll start off by doing today.
There we go. Okay. Let's just slow such as the new site here. So we'll go in and click. And we're going to start with a blank site. So there's three ways to start a second. You can create a blank site, which means you get to populate everything. The second way is to clone a template. So web flow has a very interesting way of doing things where other creators can create projects and they can share that like backend source files so that you can literally go in and copy and make changes, tweak.
To it. So that's the second way of doing it. The third is you can clone a style guide. So inside web flow, there are classes, styles and that's what we're going to end up doing. Let's see, what should we name this? The Nessie site. That's probably a good starter site. I spell nephew. I E I E. Okay.
I think we clarified that.
All right. So whenever you start a project, you are on a green canvas. So here's our, let's see, we don't need the instructional. I wonder if there's a way just to close this dismiss tutorial. All right. We're in the week. All of this. All right. So this is the web flow designer. This screen you're looking at is the designer screen.
So anytime we were talking about the designer, that's this layout. So the middle section is your canvas. This is where your website will be built. So it doesn't look too impressive right now. And we'll get there. We'll get there. All right, so here, we'll just give a quick overview to the designer and how it works.
So take maybe a big circle. We'll start up. Can you see my mouse? Can you see my screen? I can. Yup. So one of the really cool things about Webflow is you can build your sites responsibly right there in the designer. And you can toggle between different breakpoints that will show how your website looks on different screen sizes.
So up here you can go and click. The starting breakpoint is for laptop sizes that you can go down to tablets. You can go down to like mobile and. And then mobile portrait. Oh, alright, cool. Yes. So you can use the keyboard, the keyboards 1, 2, 3, and four, and that toggles between them.
So I don't know if you wanna write that down. Remember, maybe I'll remember that. So here's how it works. So this one right here, this breakpoint is the primary. Break point. I don't want to get too ahead of myself, but here's how it roughly works. When you make a change to your base, breakpoint, this desktop one it'll audibly automatically make the changes on all of the different breakpoints.
Does that make sense?
Joel: What does making a change to the break point?
Joseph: So let's say I had a nice big, header that took up a big section of this. Let's say it was two words, right? If I now go down to tablet, it might have two lines of the first word and then the second word, so it wouldn't look very good.
So when I go back here, I can make it change to shrink the text so that it'll fit in one line across them all. Or I can go down to a breakpoint that's low. And I can go make the changes there. So if I change it from, so let's say it's a hundred pixels here. I can go down this breakpoint can change it to 60 and it will then cascade down to these.
And now this one will be 60 and maybe I'll edit it to 40 and maybe 40 will work for both of these. Okay. So in theory, yes, it does not trickle back up and that's, you're going for bigger. But it will trickle down. So for example, if you want to make a change to your entire website and you are on the tablet portrait, it will not affect the desktop.
So whenever you're making a change that you want to appear everywhere, you need to make sure you're on this base break point, all that. Alright. Alright. Alright. So additionally, you can also add larger break points. So we don't typically build any larger break points. So this would be people who have cultural wide monitors.
The problem is you're going to run into accessibility issues. You're gonna run into it just ends up creating a lot more work for yourself. So we don't ever build that. And people with larger, wider screens can just shrink their browsers, zoom in. So those are the four we'll use. All right. So continuing counter-clockwise.
This is your little toggle preview button. This one right here, this little eye, so that lets you hide your side toolbars. She can see your project. You can also then grab the edge of your website screen and you can shrink the browser all the way down, up and down. So before without this, you have to go break point by break point.
So I'm using the 1, 2, 3, 4 keyboards on the keyboard. So this is good for fully responsive website. So if you'll notice this breakpoint starts at, I think it's 1280 or something and jumps all the way down to here, but there is a design. All of this design in here still needs to look good. If you let's say you make a change here on your base breakpoint and you go all the way down a tablet and you make a change and it looks good.
Somebody might have a screen size that's right in here. That still qualifies as the tablet one. So you'll want to run through whenever you're finishing with a break point and you'll want to run the designer all the way up and down just to make sure nothing misses all smooth. Yes. Alright, so next you've got the page button.
So this button right next to the eye, lets you pop up in all the pages you have on your website. So you can do static pages. You can do your utility pages at some point. We'll talk about your CMS pages. You can add a new page, right? Or you can create a folder and add pages into a folder that's normally for really big projects, or you want to sort many pages.
So you don't have 30, 40, 50, 60 pages all reviewing folder them.
Joel: What is CMS?
Joseph: We'll get to that. That does stand for your content management system, but that is coming down here somewhere. So right here you click the web flow button and this will bring you back to the dashboard.
So that will show you. And so we can not go back here and look at our projects. Then you can also go and look at your project settings. So we'll pop there real quick. All right. So this will show your URLs. You can add your favicons in adjust your time zone where you can add in users to the site.
Okay. You can go change your billing. You can add in the different. CMS things. This is how you pay for your actual plan. You can make an SEO settings tell your contact forms where you want them sent, add fonts, check your backups. So that's like your general settings, which you normally probably do at the end of the project.
All right. So we're gonna go back into our designer. So that's how you would get out of a project and back into web flows. This global. All right. So over here this whole left side is our toolbar. So this is how we are going to start adding elements to our website project. So we'll do a quick run through in this video and then maybe in the next one, we'll really take a deep dive.
All right. So your first one is your elements panel. So these are all the components of your website. They're all in here. This elements. So the next one is your symbols panel where you can group elements and make like a it's pretty much copy paste across pages. So if you had several elements that you liked, how they were designed, you can make them into a symbol.
So normally like a footer or a nav bar, you would turn into a symbol and then you can just drag the one item onto the screen on a different page. And it'll automatically bring in your same settings as before. So symbols can be really. All right, the next tab. So this one right here, this is your navigator.
So as we're building the websites, we're going to be stacking things, sorting things. You'll have parent elements, child elements, sibling elements. And this is how you'll be able to navigate into your project in here. So next, you can go to your pages, which is the same tab as up here and here, we've got our CMS, which I don't know if it's going to let us do, since we don't have a plan.
Okay, so your CMS. So here's how this is one of the really cool things about web flow. So are you familiar with the terms like dynamic and static content a little bit? Yes. I love that. Okay. So here's how it works. So in WordPress, if you go create a blog post, you can then duplicate that blog post and you have the rough of the same out the outline of every other one.
So you can just quickly go. The downside in WordPress is when you want to go back and change those that every blog you have to go into every single one and make those changes. If you want to put it, move the video over on top. Yes. You have to open up everyone. So it's horrible. Oh, I know. Yeah. So web flow, when you're building a blog, you're not actually building each individual blog post.
You are building a pretty much a database, like a spreadsheet. And you are populating information into the rows inside the database, that then you will automatically assign to a design later. So you'll build the design once and say, Hey, the video goes here. Then the text goes here. The image goes here and you'll design that once, right?
And every blog, everything in your CMS will follow that suit a year down the road. You want to come back and, oh, I want the image first. You just make one change and it populates on all of them. So it's pretty powerful. So the next is here's I guess that one most into this is your ecommerce tab for if you had a shop.
Okay. And then next we have our assets panel. So this is where our images are. Lottie files, our videos, et cetera. And then right down here is your settings tab. And this is where you'll check for backups or your search. All right, down here. This is the last one. We'll go on this left. This is your audit tab.
So web flow web taxes and it just it is boring in some ways. So web flow is one of their primary drivers is to help make the web accessible. So make sure you're using proper heading levels, all texts that your images have descriptions. So this audit panel will come up and tell you if you've got any problems on your page.
So it's just a quick way to be helpful. Yes. If you accidentally have an H one and another H one, this will say, Hey, you should probably change one of those to an H two. You can override them just in case you actually wanted to H ones there's ways to override it. But this is a really cool, easy, handy way just to check.
Thanks. Okay. All right. So that's the whole left side or. So the right side, right? Yes. We're getting there. We're almost done pretty much. Yeah, there's a lot of info. All right. So the right side is your style panel. So I'm going to pop an item on we'll go over here. We're just going to add a quick section.
All right. So as soon as you're on any element, this panel will open up a bunch of options for you to stop. Those elements. So your elements are your HTML, your structure to the website, and those are very bland. And then over here is your CSS. So you're adding in your cascading style sheets to the HTML items.
So there's a bunch of options for designing stuff. So when you go and throw, so for example, you can have an HTML heading, we can throw that on, and then here are all the ways to style it. You can change your font size. And everything like that. So that's, this little tab is still paint. Brush is all your styles.
And then over here, it's element specific items. So for example, when you have heading out, you can change if an H one and H two and H three when other elements you can give them tags is this a header? Is this the dip? Is this the navigation? And assign them things. So there are different settings for every different.
And then over here, we'll be adding styles. So for example, if I name this heading, so this is a class which we'll have to go over at some point. So if I name this heading style, I can now go over to the style manager and see every class I have assigned to my elements on the page. And then your last, yeah
Joel: this will take some some studying to
Joseph: figure out some of that.
Yeah, I'm trying to balance, not go too deep into all of this right off the bat. Cause I think we'll do that in the next video because there's a lot to unpack here, but it's kinda want to give you a general lay of the land so that as we're moving the mouse around clicking stuff, you're like, okay, I know what that is for.
All right. And then your last one, this is probably the most advanced. So you start with your HTML elements and then you add in your styling. And now this tab over here, this little cool lightening bolt lets you add interactions and animation. And this is one of the heart. This is a little more complicated than WordPress because WordPress is very limited, but it definitely takes care of that.
You're not going in and choosing how things hover, how things float around. They can get very complicated. So we'll do very minimal stuff with the elements and interactions. But we can, I can just show you one real quick if you want. So this text right here, I've got this text selected. So I can say when I hover my mouse over this.
I want it to, and then I can just grab it out. I want it to jiggle. All right. So now I come over here and go to my preview. And now when I hovered my texts over at jiggles or hover my mouse over the text. So that's rough for that as well. That's a really ugly way of showing things. That is the there's the rough outline, the overview, the 30,000 foot view of the designer.
And now we're gonna have to take a really deep dive in there. So I guess there's one other thing. I didn't finish my circle. So this button right here, this publish lets you push out your changes. So you could come in here and make some tweaks and not publish them to the site. So right now we don't have a package selected, so we can't push it out anywhere, but this is where you would hook an actual domain to it.
Or once we buy a package web flow will let us use just one of their URLs that you can send clients to look at or use it just as a. On-screen thanks. So you can check it on different devices. So that's how you'll publish things. Okay. All right. I know there was a a lot of information in that, and obviously we'll take a deep dive into it, but is there any other very broad questions you have?
Joel: I think that's you did a great job. I like the circle approach.
Joseph: That was a good one. All right. We will take a deeper dive in the next video.
Thanks for reading!